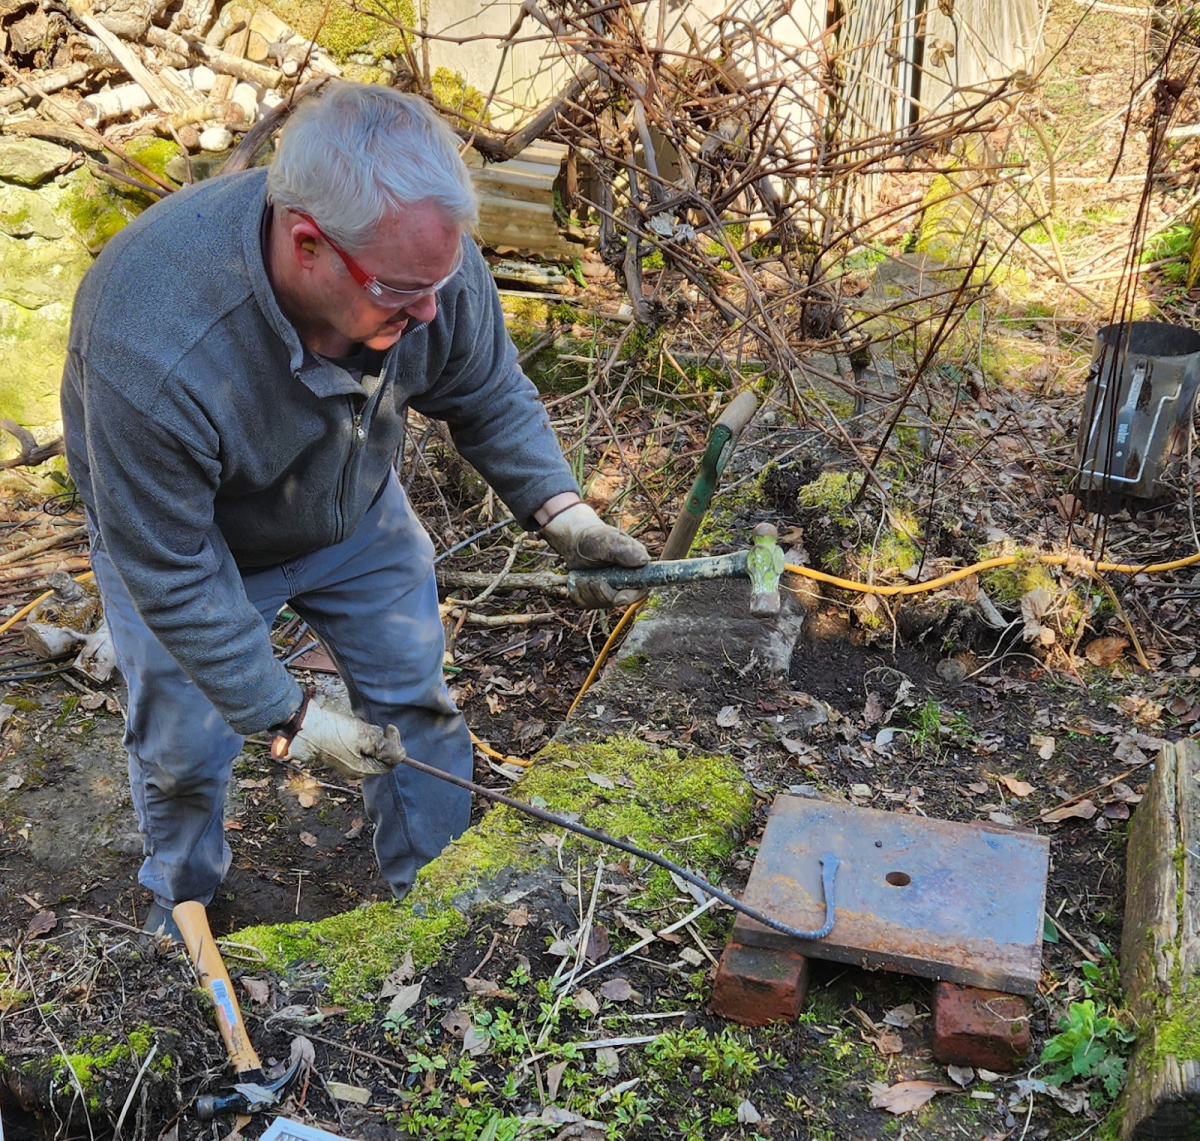
My dad, Durstin Selfridge, forging a rebar into a butter knife shape. Blacksmiths hammer a piece of metal into the rough shape they want, and then file it into its final form. Photo by Donovan Selfridge.
Disclaimer: Do not attempt without extensive safety measures and prior research, as well as parental permission. I had a contained fire, lots of protective gear, parental permission, safe materials and a bucket of water on hand. Be safe!
Forging has always been an enigmatic activity to me. As a young boy, I was obsessed with swords and medieval weapons, and that interest has stayed with me into young adulthood. I mean, what’s cooler than a sword? The answer is owning one. The problem is that swords are expensive, and it’s hard to justify buying one just to own it. But one day I came across a competition show on the History channel: “Forged in Fire.” The contestants are trained blacksmiths who compete to forge the best weapon. They recreate historical weapons, and put them to the test. I was enthralled; I wanted to do this, to shape metal with my tools, to create something practical, to put in hard work and have a tangible result.
However, it’s an intimidating hobby to get into. Upon first glance, it appears to require expensive equipment, extensive training, and a whole lot of time. However, while facing the prospect of having to take a $400 class if I ever wanted to try forging, I stumbled across a video in my YouTube feed with detailed instructions on how to forge in your backyard using simple tools. Naturally, I decided to try it out.
I already had everything I needed. A quick look around my basement provided me with a hammer and a set of files. I found some rebar (a long, ribbed piece of metal used to help reinforce concrete) in my garage that I decided to use as my material. I needed an anvil, so my dad helped me uncover a thick piece of steel from behind the basement fridge, leftover from the previous owners of the house. I took all of my items to a stone chimney in my backyard, also leftover. It’s about ten feet tall and made of stone, with a brick back. More importantly, it was the perfect place to start forging.
Before I started, I wanted to make sure I was being safe. Working with heated metal can be highly dangerous, and I wanted to avoid getting burned. In order to get professional advice, I reached out to Christopher Engstrom, the metal shop teacher at Franklin High School. Engstrom has taught metals for 11 years, two of which have been at Franklin, and also teaches forging to his students. His forging experience comes from his father. “Dad was a welder and pipefitter from the late ‘70s until around 2014,” he explains. “I was exposed to [forging] early, and have had a passion for it ever since,” he adds. For forging, Engstrom recommends “basic metalworking personal protective equipment, which includes safety glasses, heavy gloves which can withstand high temperature heat, thick clothing or a leather apron, hair ties to keep long hair up, boots, and ensuring you are keeping a safe distance away from [others] while heating and forging your metal stock.” Following his advice, I tied my hair up and wore a pair of safety glasses, a denim jacket that I buttoned up, leather work gloves, thick pants, and leather shoes. Engstrom stresses the need for spatial awareness as well. Fortunately, I had a large space to work in, so my dad and I could safely avoid each other.
A fire on its own isn’t hot enough to get metal to the temperature needed to shape it. You need to force oxygen in. Luckily, this can be done with a run of the mill blow dryer. My parents didn’t let me use theirs, so I picked up the cheapest model Fred Meyer had to offer. My dad and I rigged it up, put the rebar in the coals, and got to work. It was one of the most physically exhausting things I’ve ever done. The hammer grew heavy in my hand, and it became hard to aim my strokes; I often missed the metal, jarring my arm as I hit the anvil. The whole process would have been much easier if not for the fire putting out an impressive amount of heat; even though I was outside, it was sweltering anywhere near the flames, making me sweat in my thick clothes. Despite this, my dad and I each forged the beginnings of a blade.
At this point, my knife was a flat, dirty piece of metal on the end of a rebar. It had a vague knife shape, but it needed a lot of work. I clamped it onto a metal side-table with clamps I got from Home Depot for a dollar each, and took a hacksaw to cut part of the metal off, shaping it into a pointed, knife-like shape. Taking a metal file, I began to file the side into an edge. This was difficult because my metal had varying degrees of thickness, due to me being an amateur and flattening my rebar with no regard to how it’d turn out. I was able to get a half-decent edge on the blade, but it wouldn’t cut much without more sharpening.
The next day, I tried a different file to great success. However, after leaving my knife out overnight, I discovered pockets of rust along my blade. I took the file to it and cleaned it up, learning my lesson. I finally cut the rest of the rebar off, which left me with my finished knife. I intended to heat the blade again and quench it in a bucket of water, but the weather didn’t allow for it. If I had continued to hone my knife beyond what I have, I’d quench it to harden the steel, and then put it in the oven at 450 degrees for 45 minutes. This slightly softens the blade, keeping it strong and not brittle.
Despite not being able to take my blade the full mile, I’m happy with the result. I created a knife with nothing but some metal, a couple of tools, and my own hard work; and it’s very rewarding. Blacksmithing always seemed out of reach to me, but if you put the work in, it’s possible to make blades and tools of your own. The best advice I have to those looking to try this, or to try anything new, is: just go for it. I usually talk myself out of things, but this time I didn’t let that happen; now I have a new hobby. So, why not try that new activity you’ve been thinking about? Go for it, and you might have a lot of fun.


